Running Real Robots
Contents
Running Real Robots#
In this tutorial, we are going to go through the steps that are needed for real robot experiments.
Internet configuration#
First of all, make sure that all you machines and the robot are
connected to a LAN. And change the wired connection configuration so
that each machine shows its local IP address. In the codebase, the
default is that desktop 172.16.0.1, NUC 172.16.0.3, and the robot
is 172.16.0.2.
Turn on the robot#
Assitive Note - Turn on the robot
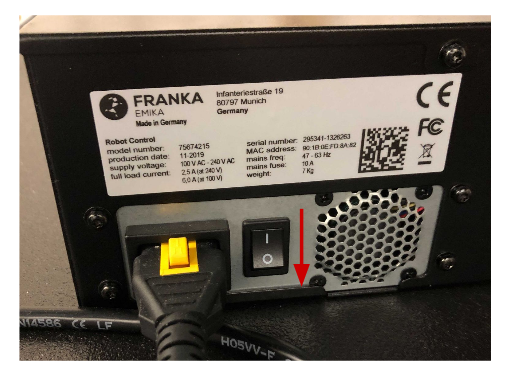
We've provided a list of checkboxes for you to keep track of all the necessary steps.Step 1: Turn on the power
First, turn on the switch.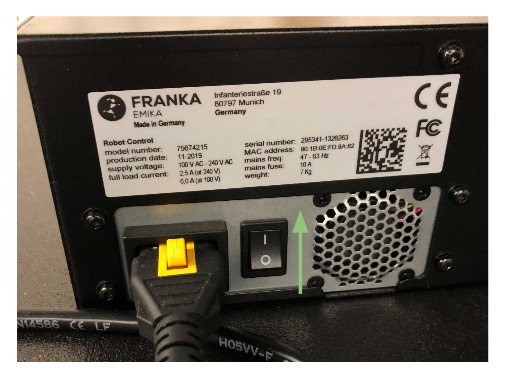
Step 2: Switch the internet connection
Second, change the wired connection to 172.16.0.2 (the local IP
address for robot). You would need to switch the ethernet connection
physically as well.
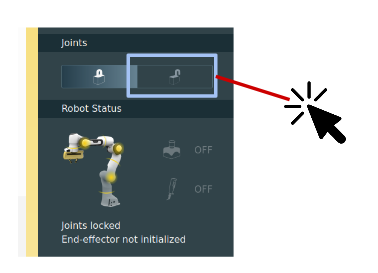
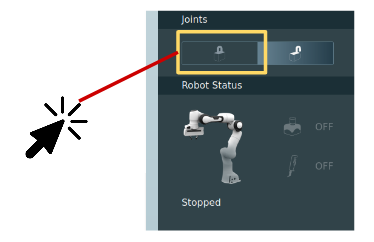
Step 3: Unlock the robot
Third, open Franka desk http://172.16.0.2/desk and unlock
joints. And this will change the signal light of Franka Panda from
yellow to white.
Step 4: Release the user-stop
Next, turn on the user-stop if the robot is showing bright lights.
Then the signal light of Franka Panda will become blue.

Step 5 (depedending on the FCI version): Activate FCI
In the new version of FCI, you need to explicitly enable FCI through Franka Desk.Start control nodes on NUC#
Open up a terminal and log in NUC through ssh (Replace USERNAME to the actual username you have on your NUC system ).
ssh USERNAME@172.16.0.3
All the commands are run under the root folder of this codebase, unless specified otherwise.
Assitive Note - Launch Deoxys control
We've provided a list of checkboxes for you to keep track of all the necessary steps.Arm control program#
The real-time control node is the controller for robot arm. To start the real-time control node, the most straightforward way is to:
./bin/franka_interface configs/charmander.yaml
However, if for any reason, this program is crashed, the robot is stopped. To increase the robustness and the duration of the code’s execution, run:
./auto_scripts/auto_arm.sh config/charmander.yml
Gripper control program#
The gripper node is the controller for gripper. To start the grippe node, run the following script:
./auto_scripts/auto_gripper.sh config/charmander.yml
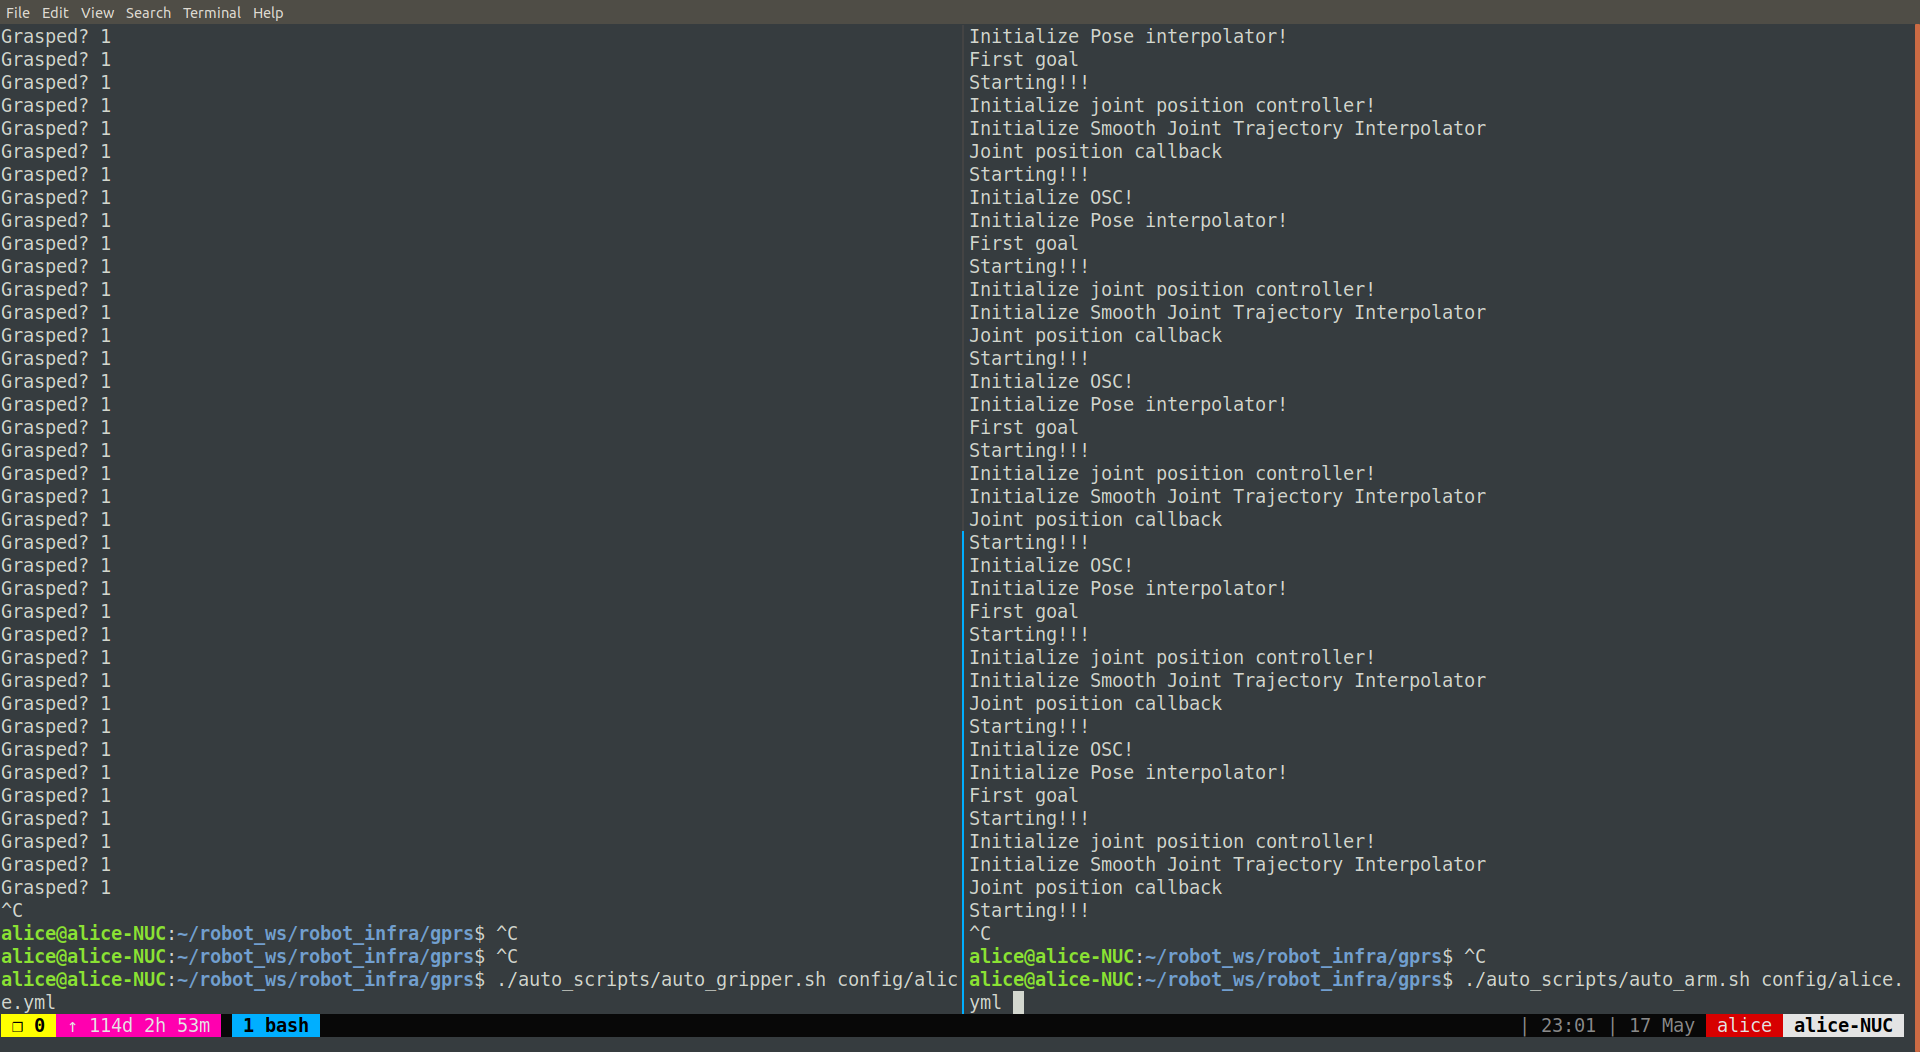
And I recommend using tmux for running programs side by side. Just
like this:
Start the desktop control node#
Most of your operations need to be done on your desktop. The desktop’s
IP is set to 172.16.0.1 by default.
Run a simple motion trajectory#
In this example, we are going to reset the robot arm into a predefined joint positions. Run:
python examples/reset_robot_joints.py
Warning!
This demo does not have the motion planning in place. Make sure that the robot arm is close enough to reach the target joint positions. Otherwise it will end up in a self-collision and lead to catastrohic failure!!!Turn off the robot#
Warning!
Make sure you turn off the robot if you are not working on it for the rest of the day.
Assitive Note - Turn off the robot
We've provided a list of checkboxes for you to keep track of all the necessary steps.Basically it would be the reverse steps of turning on the robot, except for the step of shutting down robot operation:
Step 1: Turn off the user-stop by pushing it down.
Step 2: Lock joints on Franka Desktop.
Step 3: Then, click the shut down button on Franka Desktop.(dropdown menu in the right upper corner of franka desk.)
Step 4: Turn off the power of the control box when Franka Destop shows “Finished”.